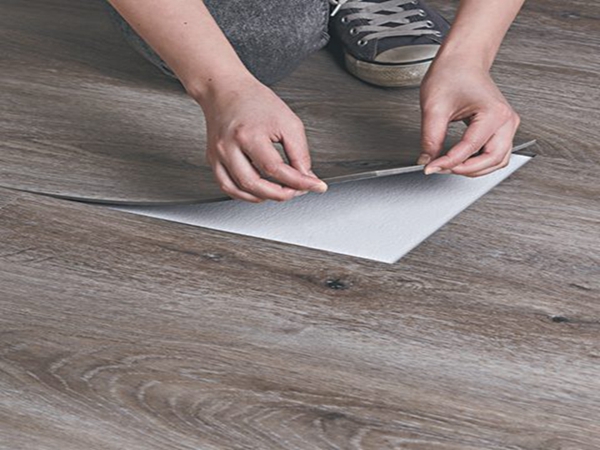
Dryback LVT flooring combines durability, style, and functionality, making it a popular choice for residential and commercial spaces. However, achieving a perfect installation requires careful planning and execution. In this comprehensive guide, we’ll walk you through the basic steps to installing dry back LVT flooring like a pro.

Before starting the installation process, it's crucial to be well-prepared. Start by assessing the condition of your subfloor to make sure it is clean, level, and free of any debris or defects. Allow the flooring material to adjust to the room's temperature and humidity levels to prevent expansion or contraction after installation. Additionally, gather all the necessary tools and materials to simplify the installation process.
A smooth, level subfloor is the foundation for a successful installation. Clean the subfloor thoroughly to remove any dirt, dust, or adhesive residue. Fill cracks and gaps with a suitable filler and prime according to the manufacturer's recommendations. Proper subfloor preparation ensures optimal adhesion and minimizes the risk of unevenness or shifting.
Measure the room dimensions accurately and plan the layout accordingly. Decide on a starting point, usually along the longest wall or the center of the room, to achieve aesthetic balance. Consider factors such as the direction of natural light and the placement of furniture or fixtures when creating a floor plan.
Start by applying the adhesive to the subfloor using a spatula, making sure to evenly cover the entire surface. Place the first row of tiles or boards along the starting point, leaving a small gap along the perimeter for expansion. Use a roller to press each tile or board firmly into place to ensure proper adhesion and eliminate any air pockets. Continue installing subsequent rows, and interlocking edges precisely to maintain a seamless look.
After the flooring is installed, use a heavy-duty roller to apply even pressure to the surface. This step helps activate the adhesive and ensures a strong bond between the floor and subfloor. Take the time to inspect the installation for any loose tiles or planks and tighten them if necessary.
Install transition strips when necessary to create a smooth transition between different floor surfaces. Caulk any gaps around edges or fixtures to prevent moisture penetration and maintain a polished look. Clean up excess adhesive promptly to avoid unsightly residue buildup.
Allow sufficient time for the adhesive to fully cure before the floor is subjected to heavy traffic or furniture is placed. Perform a final inspection to resolve any potential issues and ensure the installation meets your expectations. Provides maintenance tips for homeowners to maintain the beauty and integrity of their new dryback LVT flooring.
If adhesive residue appears, carefully clean the affected area using a suitable solvent. Repair damaged tiles or planks promptly to prevent further deterioration and maintain the integrity of the installation. Precisely address any alignment issues or gaps, taking the necessary steps to achieve a perfect finish. Please contact Trioflor if necessary.