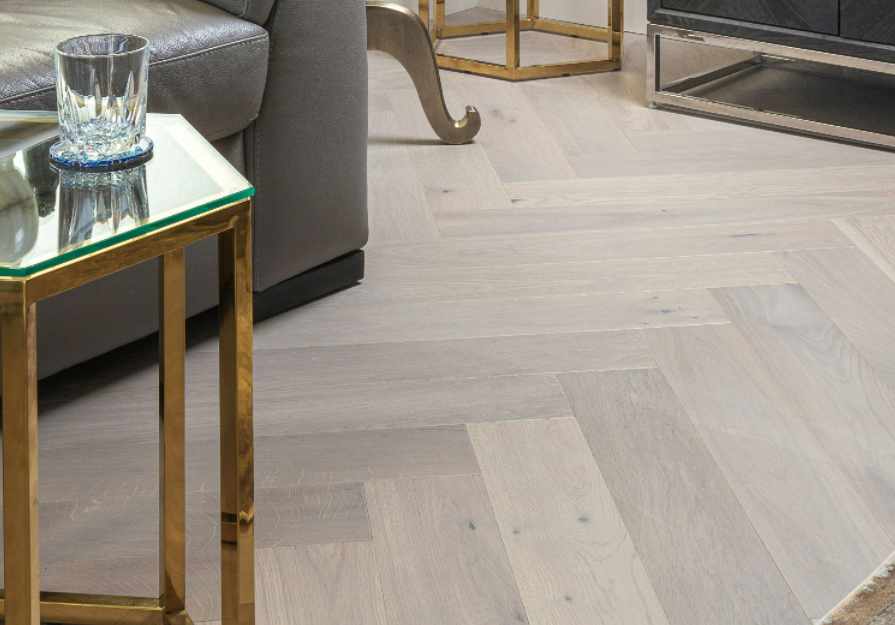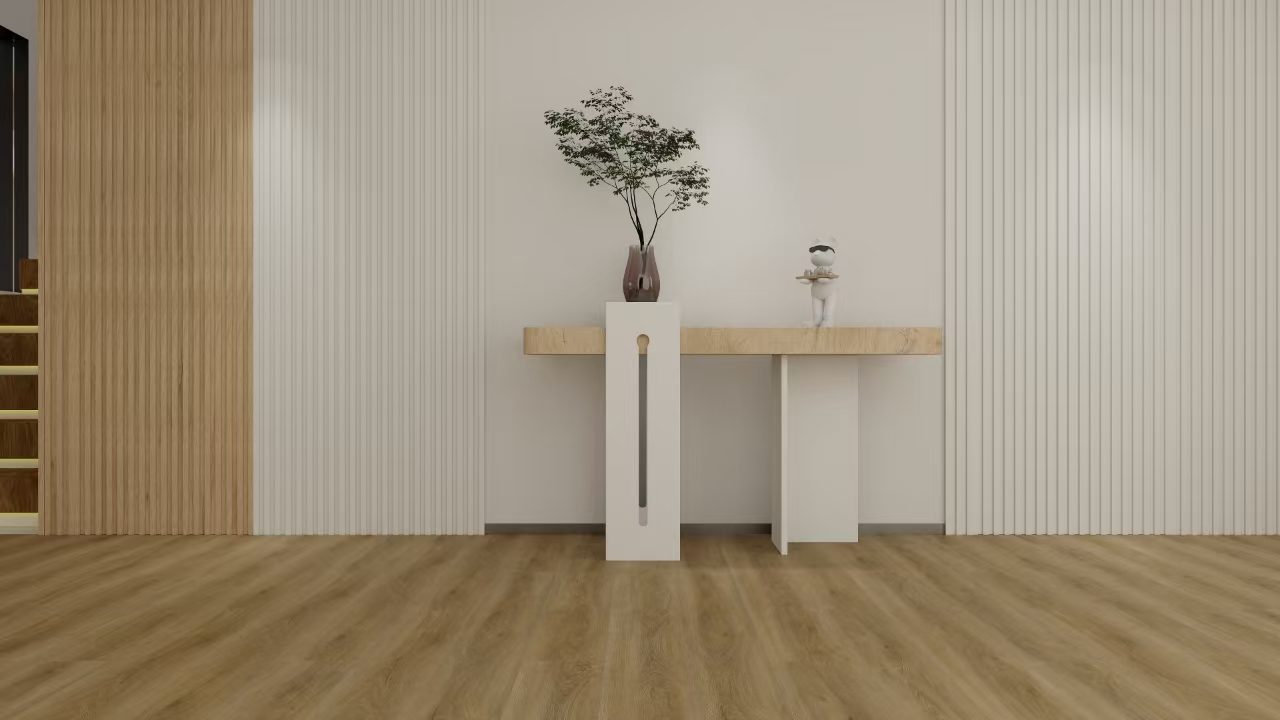
Luxury Vinyl Tile (LVT) flooring is a popular choice for its durability, waterproof properties, and stylish appearance. Whether you’re a DIY enthusiast or planning to hire professionals, this guide will provide all the essential information you need to install LVT flooring like a pro.
Before diving into the installation process, let’s explore why LVT flooring is an excellent choice for both residential and commercial spaces:
Waterproof and Durable: Perfect for kitchens, bathrooms, and high-traffic areas.
Aesthetic Variety: Mimics natural wood, stone, and ceramic tiles with stunning realism.
Easy Maintenance: Simple to clean and resistant to scratches and stains.
DIY-Friendly: With the right tools, installing LVT flooring is a manageable project.
Here’s a checklist of tools and materials to ensure a smooth installation process:
LVT flooring planks or tiles
Measuring tape
Utility knife
Straight edge or ruler
Floor roller
Adhesive (if not using a click-lock system)
Tapping block and pull bar
Spacers for expansion gaps
Underlayment (if required)
Step 1: Prepare the Subfloor
A smooth and clean subfloor is crucial for a successful installation. Follow these steps:
Clean Thoroughly: Remove dirt, dust, and debris.
Level the Surface: Fill cracks and smooth uneven areas with a self-leveling compound.
Moisture Check: Ensure the subfloor is dry, especially for concrete bases.
Step 2: Plan Your Layout
Measure the Room: Determine the square footage and purchase 10% extra flooring to account for cuts and mistakes.
Dry Lay the Planks: Place a few planks without adhesive to see how they’ll align, avoiding awkward cuts at edges.
Mark a Starting Line: Use a chalk line to create a straight guide for your first row.
Step 3: Install the LVT Flooring
Option 1: Click-Lock Installation
Start from one corner of the room.
Align the tongue-and-groove edges of the planks and click them together.
Use spacers to maintain a 1/4-inch expansion gap along the walls.
Tap the planks gently with a tapping block to secure the joints.
Option 2: Glue-Down Installation
Apply adhesive to the subfloor using a trowel. Work in small sections to avoid premature drying.
Lay the LVT tiles or planks onto the adhesive, pressing firmly to eliminate air pockets.
Use a floor roller to ensure proper adhesion and avoid lifting.
Step 4: Finishing Touches
Trim Excess Planks: Use a utility knife to cut planks to size for edges and corners.
Install Baseboards or Molding: Cover the expansion gaps for a polished look.
Clean the Floor: Remove any adhesive residue or dust from the installation.
Acclimate the LVT Flooring: Let the flooring sit in the room for 48 hours before installation to adjust to the environment.
Work in Small Sections: This prevents adhesive from drying out too quickly.
Use Proper Safety Gear: Wear knee pads and gloves to protect yourself during the installation process.
Double-Check Measurements: Measure twice, cut once to avoid costly mistakes.
Skipping Subfloor Preparation: An uneven or dirty subfloor can lead to gaps and uneven flooring.
Improper Expansion Gaps: Forgetting to leave a gap for expansion can cause the floor to warp over time.
Rushing the Adhesive Step: Ensure the adhesive is evenly spread and given sufficient time to set.
Q: Do I need an underlayment for LVT flooring?
A: Many LVT products come with built-in underlayment, but it’s recommended for uneven subfloors or added soundproofing.
Q: Can I install LVT flooring over existing tiles?
A: Yes, as long as the existing tiles are even, clean, and securely adhered.
Q: How long does it take to install LVT flooring?
A: For an average-sized room, it can take 1–2 days, depending on your experience level and flooring type.
Get Expert Help or Order LVT Flooring Today
If you’re ready to transform your space with LVT flooring, we’re here to help. Contact us for personalized advice or explore our wide selection of high-quality LVT products.
Products
News

What is dry back luxury vinyl flooring?
Jul. 29, 2024


What is dry back LVT flooring?
Feb. 02, 2024
Contact us
Related Information
Content